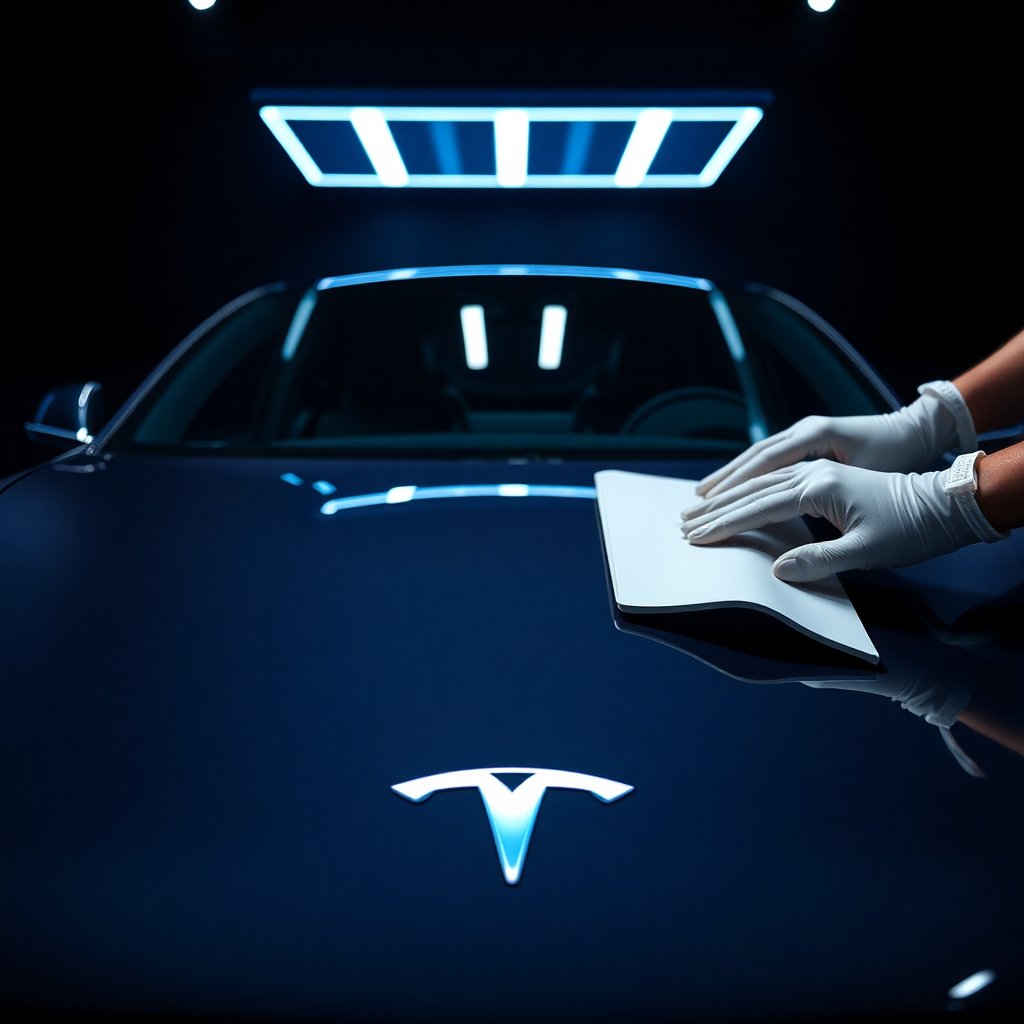
Your Tesla has a paint job the factory applied once and will never apply again. Rock chips, UV oxidation, scratches from parking lots, bird droppings that etch in the sun — protecting it matters. Here's how the three main options compare, what each one actually protects against (and what it doesn't), and what most Tesla owners actually do.
The Three Options
Paint Protection Film (PPF)
What it is: A thick, clear thermoplastic polyurethane film applied directly to the painted surface. Self-healing — minor surface scratches disappear with heat from sunlight or hot water. Available in gloss (clear) or matte finish.
What it protects against:
- Rock chips and stone impacts — the most common Tesla paint complaint
- Deep scratches and key scratches
- Bird droppings (if removed promptly — don't let them bake in the sun)
- UV fading
- Bug acids and environmental contaminants
What it doesn't fully protect against:
- Physical denting (it protects paint, not metal)
- Scratches deeper than the film layer itself
Cost:
- Partial front (bumper, hood leading edge, mirrors, door cups): $300–$700 DIY or $500–$900 professional
- Full front (bumper, hood, fenders, mirrors): $800–$1,500 professional
- Full car: $2,000–$5,000+ depending on vehicle and shop
DIY-friendly? Pre-cut kits for bumpers, door cup handles, and hood leading edges are genuinely DIY-installable with patience, a squeegee, and a heat gun. Full car wraps should be done professionally — bubbles and lifting edges look terrible and are hard to fix once the adhesive has bonded.
How long it lasts: 5–10 years with proper care. Quality films like XPEL, 3M, and SunTek carry 10-year manufacturer warranties.
Best for: High-mileage highway drivers, anyone living in rock chip-prone areas, Model 3/Y owners who know how susceptible Tesla white paint is to chips on the front bumper and hood leading edge.
→ Shop PPF pre-cut kits on Amazon
Ceramic Coating
What it is: A liquid silica-based polymer that chemically bonds to the paint and creates a semi-permanent hydrophobic (water-repelling) layer over the clear coat. Extremely hard (9H pencil hardness in top-tier products), makes water bead and sheet off dramatically.
What it protects against:
- UV oxidation (paint fading from sun exposure over years)
- Chemical stains — bird droppings, tree sap, road tar, and industrial fallout
- Light swirl marks and fine scratches
- Water spots (mineral deposits from hard water)
- General surface contamination
What it doesn't protect against:
- Rock chips and deep scratches — ceramic is hard but thin (2–3 microns). It will not stop a rock chip.
- Physical impact damage
Cost:
- Consumer DIY kits: $50–$100 for a full car application
- Professional application: $1,000–$3,000+ depending on prep work included
- "Permanent" professional coatings: $1,500–$4,000+, often with annual maintenance inspections
DIY-friendly? Yes, more accessible than PPF. The process requires thorough preparation — wash, clay bar decontamination, and polish to remove existing swirls — but the coating application itself is straightforward. Requires 24–48 hours of curing time before water exposure.
How long it lasts: Consumer-grade coatings (IGL Kenzo, Gyeon Q2, CarPro Cquartz): 2–4 years. Professional "permanent" coatings: 5–7+ years.
Best for: Anyone who hates washing their car (water and dirt sheet off clean), owners in harsh sun or areas with heavy tree coverage, people who want the paint to look better than new with minimal ongoing effort.
→ Shop ceramic coating kits on Amazon
Vinyl Wrap
What it is: Thin adhesive vinyl film available in hundreds of colors and finishes — matte, satin, gloss, color-change, brushed metal, carbon fiber look, and textured options. Covers the painted surface entirely or in sections.
What it protects against:
- Light scratches and surface scuffs
- UV fading of the original paint underneath
- Environmental contaminants
- Door dings (somewhat — the film absorbs some light contact)
What it's primarily for: Color change, custom appearance, and paint preservation while maintaining full resale flexibility (the original paint remains untouched underneath).
Cost:
- Partial wraps (roof, pillars, hood, mirrors): $400–$900 professional
- Full car wrap: $2,500–$6,000 professionally done, depending on shop and vinyl quality
- DIY full wrap: $400–$800 in materials, requires significant skill and a temperature-controlled space
DIY-friendly? Partial wraps on flat panels (roof, A-pillars, mirror caps) are very doable. Complex curves, door handles, and body lines require experience. Full wraps are professional work for most people.
How long it lasts: Quality vinyl (Avery, 3M, KPMF): 5–7 years with care. Budget vinyl: 3–5 years, often with more UV degradation. Avoid cheap no-name vinyl — the adhesive fails and the film becomes difficult to remove cleanly.
Best for: Owners who want a color change without permanent commitment; protecting a daily driver while keeping the factory paint underneath untouched for resale; styling customization.
→ Shop vinyl wrap materials on Amazon
The Real-World Comparison
| | PPF | Ceramic | Vinyl | |---|---|---|---| | Rock chip protection | ✅ Excellent | ❌ None | ⚠️ Minimal | | UV protection | ✅ Good | ✅ Excellent | ✅ Good | | Chemical stain resistance | ✅ Good | ✅ Excellent | ✅ Good | | Self-healing | ✅ Yes | ❌ No | ❌ No | | Color change | ❌ No | ❌ No | ✅ Yes | | DIY feasible | ⚠️ Partial | ✅ Yes | ⚠️ Partial | | Cost | $$$ | $ | $$ | | Durability | 5–10 yr | 2–5 yr | 5–7 yr | | Reversible | ✅ Removable | ⚠️ Requires polish to remove | ✅ Removable |
What Most Tesla Owners Actually Do
Based on real-world owner forums and community consensus, here are the practical approaches most people take:
The Best Value Setup (Under $200 DIY)
- Pre-cut PPF kit on high-impact zones: bumper, hood leading edge, door cup handles, and side mirrors: ~$80–$120 in materials
- DIY ceramic coating on the rest of the car: ~$60–$100
Total out-of-pocket: $140–$220. This covers you for the main protection categories without professional pricing and takes a weekend to complete.
Mid-Range Setup ($600–$1,200)
Get the bumper and full hood professionally PPF'd ($500–$900) and apply DIY ceramic coating yourself to the remaining panels. You get professional-grade chip protection on the most vulnerable areas and easy-clean hydrophobic protection everywhere else.
Maximum Protection ($3,000+)
Full PPF wrap (bumper to bumper) plus a ceramic coating applied on top of the PPF. Yes, you can layer them — ceramic on top of PPF gives you the hydrophobic easy-clean properties on the PPF surface, extending its life and keeping it clean. This is what showroom and heavily-driven delivery vehicles get.
DIY Ceramic Coating: The Process
For owners who want to DIY the ceramic, here's the correct process:
- Two-bucket wash — thoroughly clean the car with a car-specific soap
- Iron decontamination spray — spray on, let dwell, rinse. Removes iron particles from brake dust embedded in the clear coat
- Clay bar treatment — removes above-surface contaminants that washing doesn't lift
- Machine polish (optional but recommended) — removes swirl marks and light scratches. If you skip this step, you're sealing imperfections in permanently
- IPA wipe-down — removes any polish oils from the surface
- Ceramic coating application — apply in 2x2 sections, spread evenly, wipe off the high spots with a clean microfiber before it flashes
- Cure time — keep the car dry and out of rain for 24–48 hours minimum
The result: 2–3 years of hydrophobic protection, easier washing, and meaningfully better UV resistance. Makes the car noticeably easier to keep clean on an ongoing basis.
→ Shop car detailing clay bar kits on Amazon
Tesla-Specific Paint Notes
Tesla white paint ("Pearl White Multi-Coat") is widely considered prone to rock chips relative to other colors — the multiple-layer pearl coating shows chips visibly. If you have white, PPF on the front bumper and hood is a higher priority than for other colors.
Tesla red ("Ultra Red") fades without UV protection. Ceramic coating is particularly valuable here to preserve color depth over years.
Black paint ("Midnight Silver Metallic" and solid black) shows swirl marks and washing scratches more readily than other colors. Polish before ceramic application is especially important for black cars.
FAQ
Can I apply ceramic coating myself without professional experience?
Yes. DIY ceramic coating is genuinely accessible and many owners do it successfully. The preparation steps (washing, decontamination, clay bar) take more time than the coating itself. Follow the instructions carefully, work in a shaded environment, and don't apply in direct sun or extreme temperatures.
How do I choose between PPF and ceramic coating if I can only afford one?
If rock chips are your main concern (highway driving, gravel roads), choose PPF for the front bumper and hood leading edge. If you want overall paint preservation, gloss enhancement, and easier washing across the whole car, choose ceramic. The two serve different primary purposes.
Is Tesla's factory paint thick enough that PPF adhesive won't damage it on removal?
Tesla's paint is thinner than many other manufacturers (they moved to water-based single-stage application on many models). PPF should always be removed by a professional when it reaches end of life — improper removal or leaving old PPF on too long can cause adhesive residue or paint damage. Professionally installed PPF from reputable brands is designed for clean removal.
Does vinyl wrap protect against rock chips?
Minimally. Vinyl is 2–3 mil thick, which provides some protection against very light impacts. It's not a substitute for PPF in terms of chip protection — the vinyl itself will chip and damage under the same conditions that would chip paint. Its primary value is aesthetics and UV protection, not impact protection.
Can I layer PPF and ceramic coating?
Yes, and it's the best of both worlds. Apply PPF to the high-impact areas first, then apply ceramic coating over the entire car including the PPF surface. The ceramic extends the life of the PPF (keeps it hydrophobic and clean) and covers all panels with UV and chemical protection.
The Bottom Line
For most Tesla owners, the practical answer is:
- PPF the front bumper and hood leading edge — this is where 80% of chip damage occurs
- Ceramic coat the rest of the car — UV protection, easy cleaning, gloss enhancement
Do them in sequence on a weekend and you've meaningfully extended your paint's life without professional pricing.
Once the exterior is protected, the interior deserves the same attention — our Tesla interior upgrades guide covers the modifications worth making to protect and enhance your cabin.