Home charging is the single biggest quality-of-life upgrade for Tesla ownership. No more gas stations. No more planning charging stops. You wake up every morning with a full battery. Here's exactly how to get there — equipment options, electrician requirements, real costs, and the decisions that matter.
Level 1 vs Level 2: What's the Difference?
Level 1 (120V standard outlet): Every Tesla includes a Level 1 adapter in the box. You plug it into a standard household outlet and charge at about 3–5 miles of range per hour. This works fine if you drive under 25–30 miles per day and charge every night without fail. For longer daily commutes or unpredictable driving patterns, Level 1 is too slow.
Level 2 (240V): Charges at 20–44+ miles of range per hour depending on the circuit amperage and your Tesla's onboard charger capacity. A full charge from near-zero takes 7–10 hours overnight — you wake up to whatever range you set. This is what most owners want.
The jump from Level 1 to Level 2 is dramatic in practice. Level 1 anxiety about overnight charging disappears completely with Level 2. Most owners wonder why they waited.
Option 1: The NEMA 14-50 Outlet
The cheapest and most versatile path to Level 2 charging. A NEMA 14-50 is a standard 240V outlet — the same type your electric dryer uses. It provides up to 50 amps, though most EVSEs limit draw to 32 or 40 amps (80% of circuit capacity per code).
What you need:
- A licensed electrician to install a NEMA 14-50 outlet in your garage (~$200–$400 depending on panel distance)
- A portable EVSE (the charging cable unit) with a NEMA 14-50 plug
A 32-amp EVSE on a NEMA 14-50 charges your Tesla at approximately 25–30 miles of range per hour. That's 200+ miles of range added overnight — sufficient for virtually any commute.
Advantages of NEMA 14-50 over hardwired: The outlet is universally useful. If you ever switch vehicles (other EVs, different brands), any EVSE with a NEMA 14-50 plug works. You can also unplug the EVSE and use the outlet for other 240V equipment if needed.
Cost breakdown:
- Electrician (NEMA 14-50, typical garage install): $200–$400
- Portable EVSE (32A): $160–$230
- Total: $360–$630
→ Shop NEMA 14-50 compatible EVSEs on Amazon
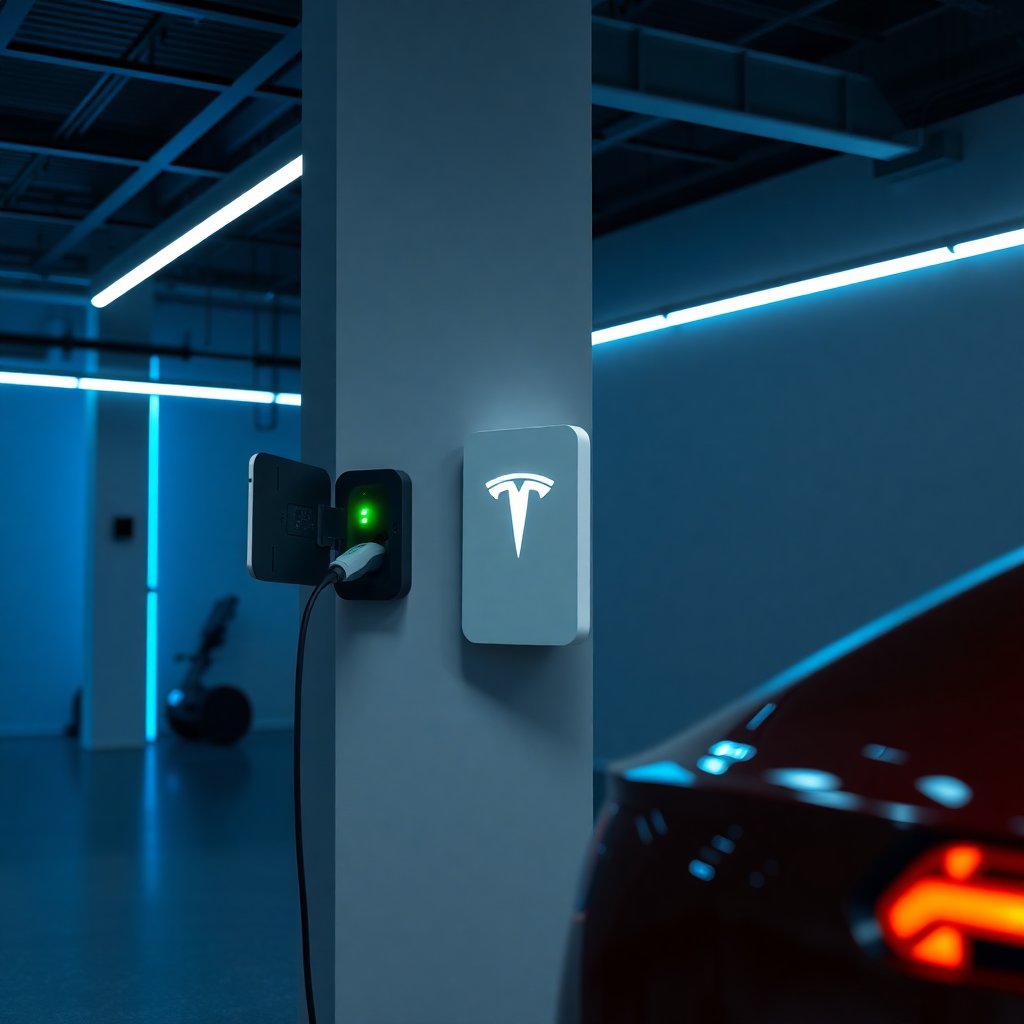
Option 2: Tesla Wall Connector
Tesla's official Level 2 solution. The Gen 3 Wall Connector is a hardwired unit that your electrician installs directly to your panel. It supports up to 48 amps, delivering 44 miles of range per hour for Model 3 Long Range and up to 34 miles/hour for Model Y.
Pros:
- Highest charging speed available for Tesla
- Clean, integrated appearance — looks built for the garage
- Tesla-designed for seamless scheduling integration via the Tesla app
- Wi-Fi connected for software updates
Cons:
- More expensive — $400–$500 for the unit plus $300–$600 electrician labor for hardwiring
- Not portable if you move — it stays with the house
When to choose the Wall Connector: If you drive 60+ miles per day regularly and need maximum overnight charging speed, or if you want the cleanest possible installation and are committed to the home long-term.
→ Shop Tesla Wall Connector on Amazon
Option 3: Third-Party Level 2 EVSEs
Brands like ChargePoint, Emporia, Grizzl-E, and Autel make excellent 240V EVSEs at lower prices than the Tesla Wall Connector. Many have smart features: scheduling, energy monitoring, app control, and even solar integration.
Top recommendations in 2026:
Grizzl-E Classic (~$199–$229): The value king. 40-amp output, built like a tank, outdoor-rated, simple and reliable. No WiFi or app, which some owners prefer — less complexity, nothing to malfunction. The most recommended budget-friendly hardwired option in EV owner communities.
→ Shop Grizzl-E Level 2 Charger on Amazon
Emporia Level 2 EVSE (~$219–$249): 48-amp output with smart energy monitoring, app control, and real-time power tracking. If you want to track electricity usage and optimize charging around time-of-use rates, the Emporia is the best value smart charger.
→ Shop Emporia Level 2 Charger on Amazon
ChargePoint Home Flex (~$279–$329): Widely regarded as the most polished smart EVSE available. Excellent app, works with Alexa and Google Assistant, up to 50 amps, and has one of the best installation support ecosystems in the market.
What About the Electrical Panel?
Before your electrician visit, check these things:
Available amperage: Most homes have 200-amp service. Adding a 50-amp circuit for EV charging (which carries a 40-amp continuous load) typically leaves plenty of headroom for normal household usage. 100-amp service homes may need a panel upgrade — worth knowing before you budget.
Panel location vs. garage: Longer runs cost more. If your panel is on the opposite side of the house from your garage, budget an additional $100–$300 for the longer wire run. Ask for quotes specifically from electricians experienced with EV installs.
Double-pole breaker space: A 240V circuit requires a double-pole breaker (two slots). Most panels have available slots, but check yours. If your panel is full, a tandem breaker or load management device may be needed.
Outdoor conduit: If the wire run goes through an unfinished garage wall or exterior, conduit adds protection and a cleaner look. Good electricians include this; make sure it's specified in the quote.
The Setup Process (Step by Step)
-
Assess your driving needs. Under 25 miles/day: Level 1 may be fine for now. 25–100 miles/day: Level 2 via NEMA 14-50. 100+ miles/day or fleet use: hardwired Wall Connector.
-
Get 2–3 electrician quotes. Ask specifically for "NEMA 14-50 outlet in garage" or "hardwired 50-amp 240V circuit for EV charging." EV-specific language gets you the right contractor.
-
Order your EVSE. Have it ready before the electrician arrives so they can confirm the outlet placement is optimal for your cable length and routing.
-
Set a charging schedule in the Tesla app. Navigate to Charging > Schedule. Set your "Charge Start Time" to coincide with off-peak electricity hours (typically 9pm–7am in most US markets). This can meaningfully reduce your monthly electricity bill.
-
Monitor your first few charges. Confirm the charge rate shows correctly on the Tesla screen (it should show your EVSE's amperage). Spot-check the outlet or hardwired connection for any heat after a full overnight session.
Comparison Table
| Option | Charge Rate | Cost | Portable? | Smart Features | |---|---|---|---|---| | Level 1 (120V outlet) | 3–5 mph | $0 (adapter included) | Yes | No | | NEMA 14-50 + EVSE | 25–30 mph | $360–$630 | Partially | Depends on EVSE | | Tesla Wall Connector | 34–44 mph | $700–$1,100 | No | Yes (WiFi) | | Grizzl-E Classic | 30–38 mph | $500–$750 installed | No | No | | Emporia Smart EVSE | 38–44 mph | $550–$850 installed | No | Yes |
Public Charging Tip
Even with home charging, keep a J1772 adapter in your glovebox. It unlocks thousands of public Level 2 stations — hotels, parking garages, ChargePoint, Blink, and others — that aren't Tesla Superchargers. When traveling, this adapter means you can charge at virtually any public station you encounter.
→ Shop J1772 adapters on Amazon
FAQ
Can I install a Level 2 charger myself?
A licensed electrician is required for any 240V circuit work in most jurisdictions. While technically someone with electrical experience could do it, pulling a permit and having a licensed electrician do the work protects you legally and ensures code compliance for insurance and resale purposes. Don't DIY the electrical; it's not the place to save $200.
How much will my electricity bill increase?
Roughly $30–$80/month depending on your driving and local electricity rates. A Model Y Long Range gets about 3.5–4 miles per kWh. At $0.12/kWh (US average) charging 1,000 miles/month costs about $30–$35. Charging during off-peak hours reduces this further.
Is it better to charge to 80% or 100%?
Tesla recommends 80% for daily charging — it's the default setting for a reason. Full 100% charges are fine before road trips but accelerate battery degradation slightly if done daily. The 80% limit also leaves buffer for regenerative braking recovery going downhill.
What's the difference between a Level 2 charger and an EVSE?
The "charger" is technically built into the car — it's the onboard AC-to-DC converter. The "EVSE" (Electric Vehicle Supply Equipment) is the box on the wall that safely delivers AC power to the car. The car controls the actual charging. This distinction matters when people say "Level 2 charger" — they really mean "Level 2 EVSE."
How long does a typical home charging station installation take?
For a straightforward NEMA 14-50 outlet in a garage with the panel nearby, a licensed electrician typically completes the job in 2–4 hours. More complex installations (long wire runs, panel upgrades) can take a full day. Get a timeline estimate when getting quotes.
Real-World Costs (Our Setup)
For reference, here's what one owner's setup cost:
- Electrician (NEMA 14-50 outlet, 15-foot run from panel, permit pulled): $285
- Portable EVSE (32A, NEMA 14-50 plug): $179
- Cable management clips for wall routing: $15
- Total: $479
Not a gas station trip since installation. The math works out immediately.
Once your home charging is set up, see our guide to the best Tesla charging accessories for cable management solutions, portable charging gear for road trips, and adapter kits worth having in the glovebox.